Checked 2026-10-30
The Halloween Man walkthrough: layouts, stars and tips
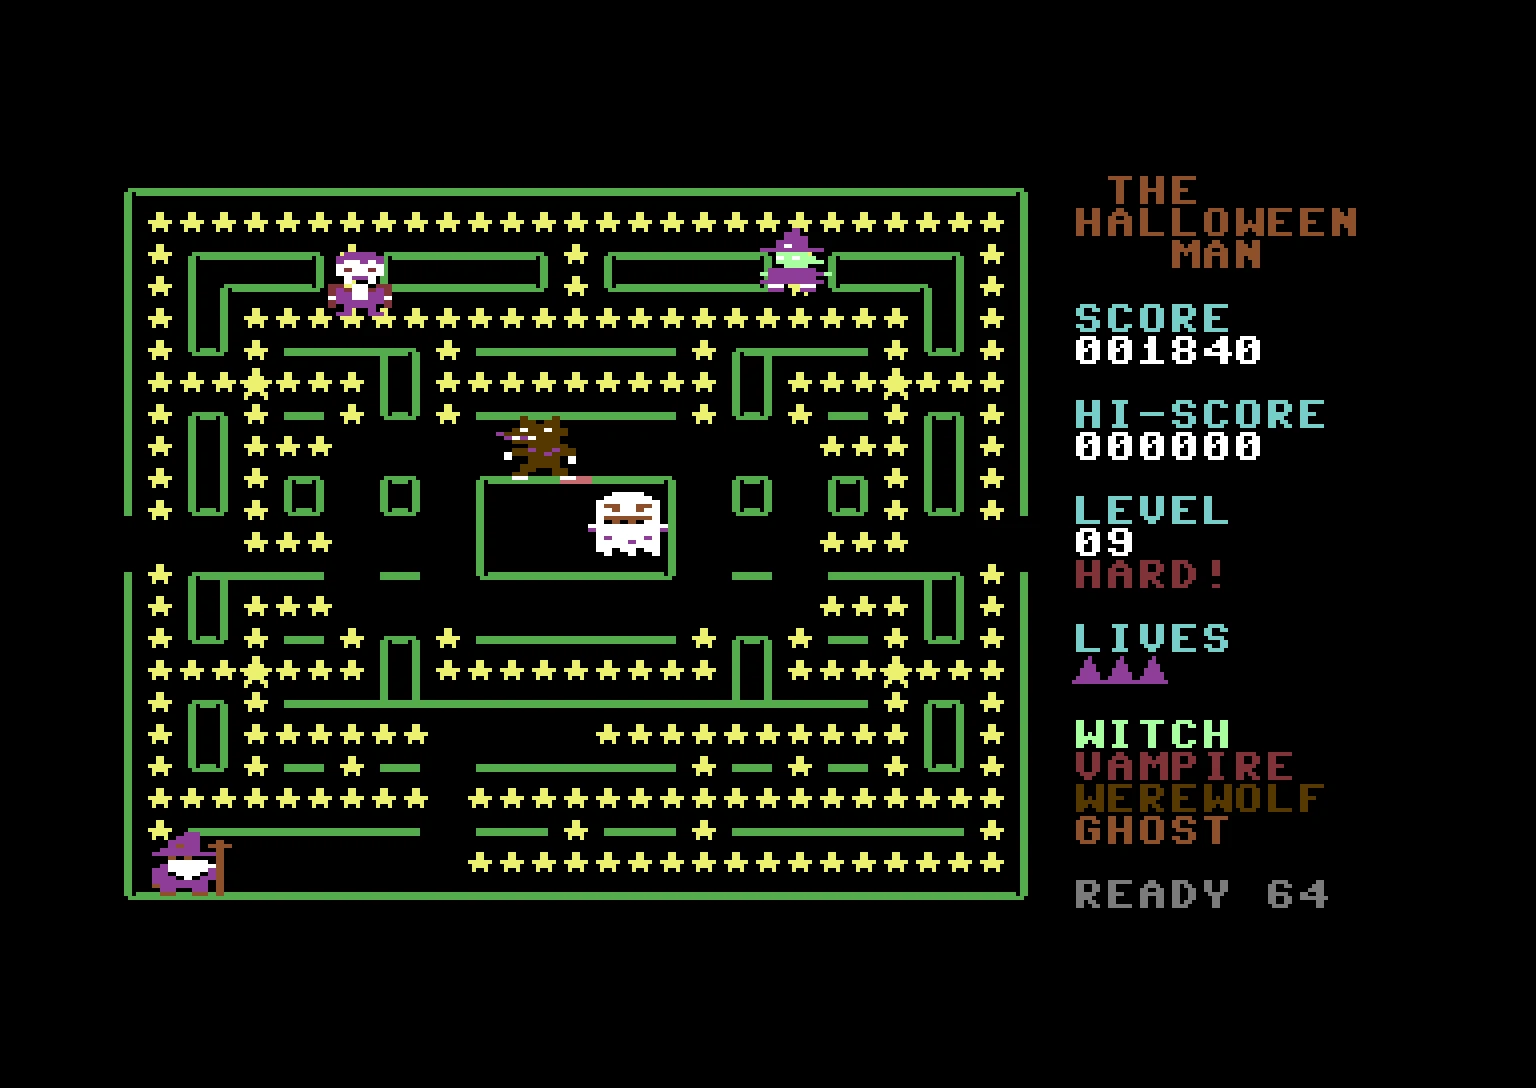
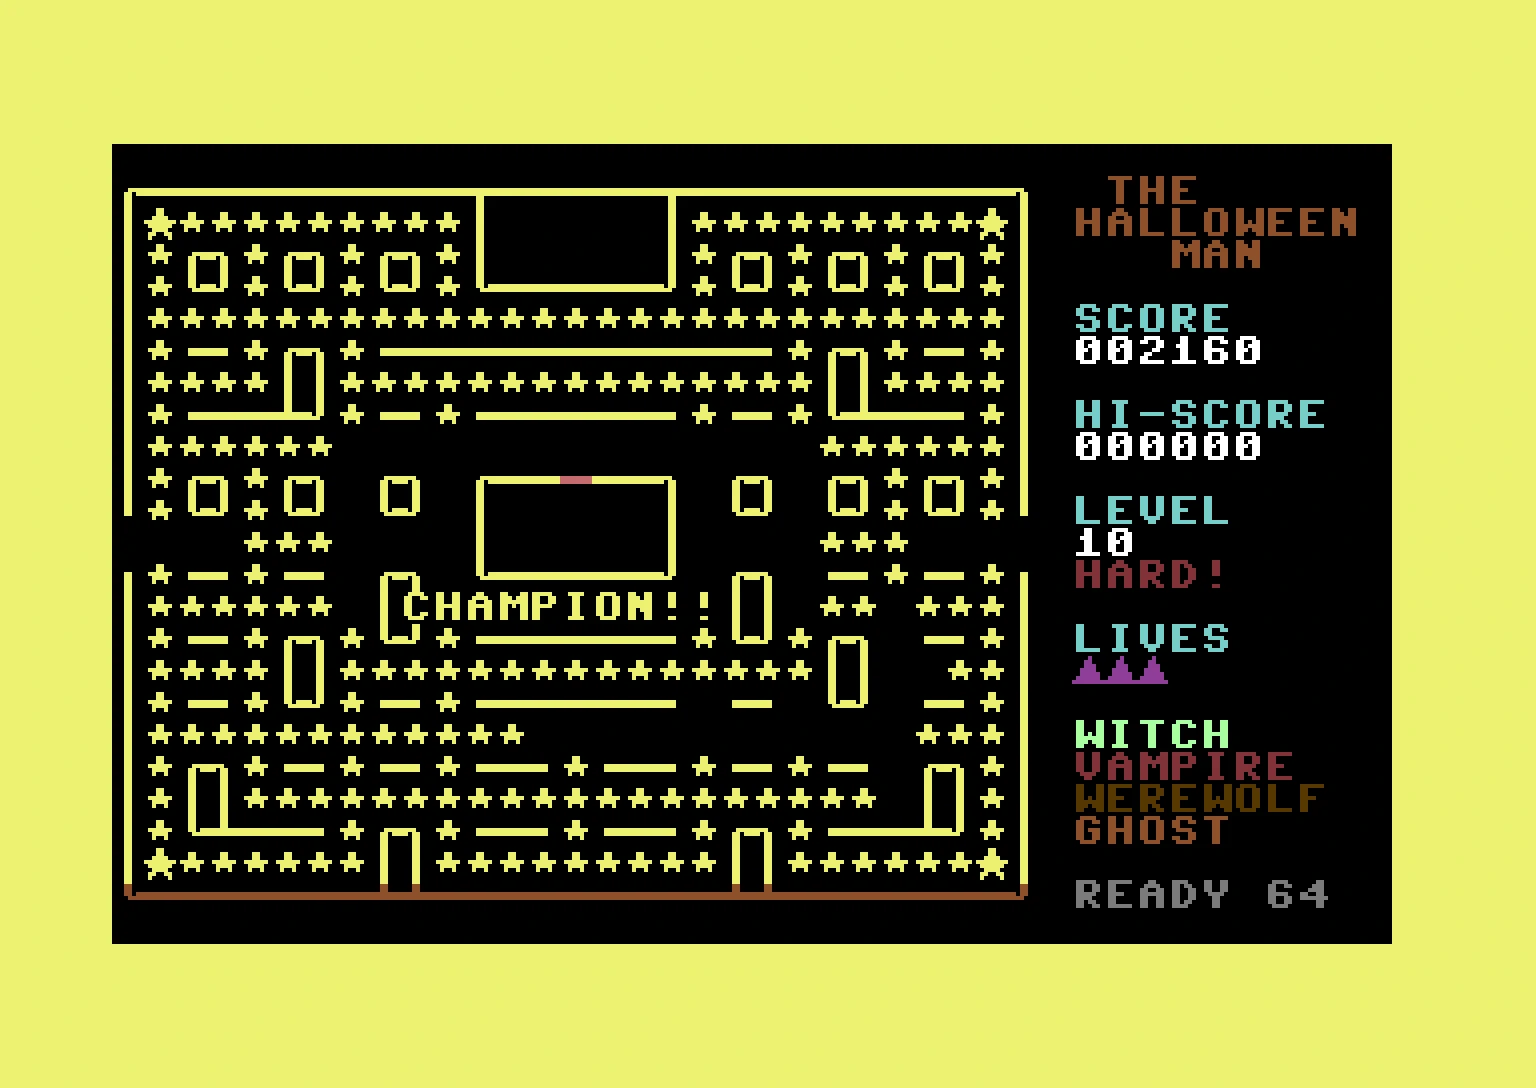
THE HALLOWEEN MAN has ten levels and five maze layouts. According to the developer source, each layout returns once, with a new wall colour and a harder monster setting. Star counts below are counted in the public source package. No independent star count was found in the sources reviewed.
Controls and monster habits are on How to play. Files are on Download.
Level table
Wall colours use Commodore 64 colour numbers from the source. Magic-star counts include the four power stars.
| Level | Layout | Wall | Stars | Tag |
|---|---|---|---|---|
| 1 | 1 classic | 14 light blue | 231 | EASY |
| 2 | 2 the crypt | 4 purple | 247 | EASY |
| 3 | 3 the graveyard | 8 orange | 249 | EASY |
| 4 | 4 the castle | 13 light green | 253 | EASY |
| 5 | 5 the dark forest | 3 cyan | 267 | EASY |
| 6 | 1 classic | 2 red | 231 | HARDER |
| 7 | 2 the crypt | 7 yellow | 247 | HARDER |
| 8 | 3 the graveyard | 10 light red | 249 | HARDER |
| 9 | 4 the castle | 5 green | 253 | HARD |
| 10 | 5 the dark forest | 15 light grey | 267 | HARD |
The mapping is (level − 1) mod 5, so level 1 and level 6 share a map, and so on. Each map is 29 by 23 cells. Coordinates here are zero-based. Row 11 has left/right edge-wrap openings; the house blocks its centre. The haunted house sits around rows 9–12 and columns 11–17, with a door at column 14, row 9. The player starts at column 14, row 17.
What each layout asks of you
- Classic — mirrored top and bottom. Power stars sit at the far left and right of rows 4 and 17. The tunnel is the escape.
- The crypt — power stars in the four corners. Long vertical halls on both sides, and the house splits the map into upper and lower halves.
- The graveyard — power stars on rows 4 and 19 at the edges. The centre column is interrupted by walls; the long outside lanes are clearer connections.
- The castle — power stars sit inward, around columns 4 and 24 on rows 6 and 15, not on the border. The top and bottom rows are long halls.
- The dark forest — corner power stars again, and the most horizontal corridors. Circling the edge is the natural clear.
Five source-derived maze maps
The following maps reproduce cell geometry from ready64’s public source, not a recorded route. © 2026 READY 64; source linked below. Coordinates start at zero. Legend: # wall, . ordinary star, o power star, H house, - door, space no-star floor. These data and counts have one developer source; no independent map was found.
Layout 1: classic (29x23 cells)
 0 #############################
 1 #..........#######..........#
 2 #.##.##.##.#######.##.##.##.#
 3 #.##.##.##.#######.##.##.##.#
 4 #o.........................o#
 5 #.##.##.##.#######.##.##.##.#
 6 #.......##.........##.......#
 7 ####.#####.#######.#####.####
 8 ####.##               ##.####
 9 ####.## ## ###-### ## ##.####
10 ####.## ## #HHHHH# ## ##.####
11     ...    #HHHHH#    ...
12 ####### ## ####### ## #######
13 #######               #######
14 #######.##.#######.##.#######
15 #.......##.........##.......#
16 #.##.#########.#########.##.#
17 #o............ ............o#
18 #.##.##.#############.##.##.#
19 #....##...............##....#
20 #.#####.##.###.###.##.#####.#
21 #...........................#
22 #############################
Layout 2: the crypt (29x23 cells)
 0 #############################
 1 #o.........................o#
 2 #.##.#####.###.###.#####.##.#
 3 #.##.#####.###.###.#####.##.#
 4 #....##...............##....#
 5 #.#####.##.#######.##.#####.#
 6 #..........#######..........#
 7 #.##.##.#############.##.##.#
 8 #....##               ##....#
 9 #.##.## ## ###-### ## ##.##.#
10 #.##.## ## #HHHHH# ## ##.##.#
11     ...    #HHHHH#    ...
12 ####### ## ####### ## #######
13 #....##               ##....#
14 #.##.##.##.#######.##.##.##.#
15 #..........#######..........#
16 #.##.##.#############.##.##.#
17 #....##....... .......##....#
18 #.##.##.##.###.###.##.##.##.#
19 #.......##.........##.......#
20 #.##.#####.#######.#####.##.#
21 #o.........................o#
22 #############################
Layout 3: the graveyard (29x23 cells)
 0 #############################
 1 #.......##.........##.......#
 2 #.##.##.##.#######.##.##.##.#
 3 #.##.##.##.#######.##.##.##.#
 4 #o.........................o#
 5 #.##.#####.#######.#####.##.#
 6 #.##.......#######.......##.#
 7 #.##.##.#############.##.##.#
 8 #......               ......#
 9 #.##.## ## ###-### ## ##.##.#
10 #.##.## ## #HHHHH# ## ##.##.#
11     ...    #HHHHH#    ...
12 #.##.##### ####### #####.##.#
13 #......               ......#
14 #.##.##.#############.##.##.#
15 #.##.......#######.......##.#
16 #.##.##.##.#######.##.##.##.#
17 #............. .............#
18 #.##.#####.#######.#####.##.#
19 #o##.......#######.......##o#
20 #.##.##.##.#######.##.##.##.#
21 #...........................#
22 #############################
Layout 4: the castle (29x23 cells)
 0 #############################
 1 #...........................#
 2 #.#####.######.######.#####.#
 3 #.#####.######.######.#####.#
 4 #.##.....................##.#
 5 #.##.#####.#######.#####.##.#
 6 #...o...##.........##...o...#
 7 #.##.##.##.#######.##.##.##.#
 8 #.##...               ...##.#
 9 #.##.## ## ###-### ## ##.##.#
10 #.##.## ## #HHHHH# ## ##.##.#
11     ...    #HHHHH#    ...
12 #.##### ## ####### ## #####.#
13 #.##...               ...##.#
14 #.##.##.##.#######.##.##.##.#
15 #...o...##.........##...o...#
16 #.##.###################.##.#
17 #.##.......... ..........##.#
18 #.##.##.##.#######.##.##.##.#
19 #...........................#
20 #.########.###.###.########.#
21 #...........................#
22 #############################
Layout 5: the dark forest (29x23 cells)
 0 #############################
 1 #o.........#######.........o#
 2 #.##.##.##.#######.##.##.##.#
 3 #.##.##.##.#######.##.##.##.#
 4 #...........................#
 5 #.##.##.#############.##.##.#
 6 #....##...............##....#
 7 #.#####.##.#######.##.#####.#
 8 #......               ......#
 9 #.##.## ## ###-### ## ##.##.#
10 #.##.## ## #HHHHH# ## ##.##.#
11     ...    #HHHHH#    ...
12 #.##.## ## ####### ## ##.##.#
13 #...... ##         ## ......#
14 #.##.##.##.#######.##.##.##.#
15 #....##...............##....#
16 #.##.##.##.#######.##.##.##.#
17 #............. .............#
18 #.##.##.##.###.###.##.##.##.#
19 #.##.....................##.#
20 #.#####.##.###.###.##.#####.#
21 #o......##.........##......o#
22 #############################
Five pieces of advice, not a record
Clear the outside before the inside. The maps are left-right mirrors, so one half teaches the other. Hold the four power stars until three or four monsters share a corridor. When the witch is stuck to you, take row 11 and come out the other side. The werewolf’s shy step lets you pass; the vampire wants a reverse. The house neighbourhood (rows 8–13, columns 7–21) has no stars, so the last star is not in the middle. No full-clear recording or clear time was found in the public sources reviewed.
Questions
Do I have to eat the power stars to finish a maze?
The source counts both ordinary stars and power stars toward the remaining dots. Clearing a maze means both are gone.
Is there a published fastest route?
No. The five tips further down are suggestions based on the developer’s maps, not a recorded clear.